🌐 Introduction
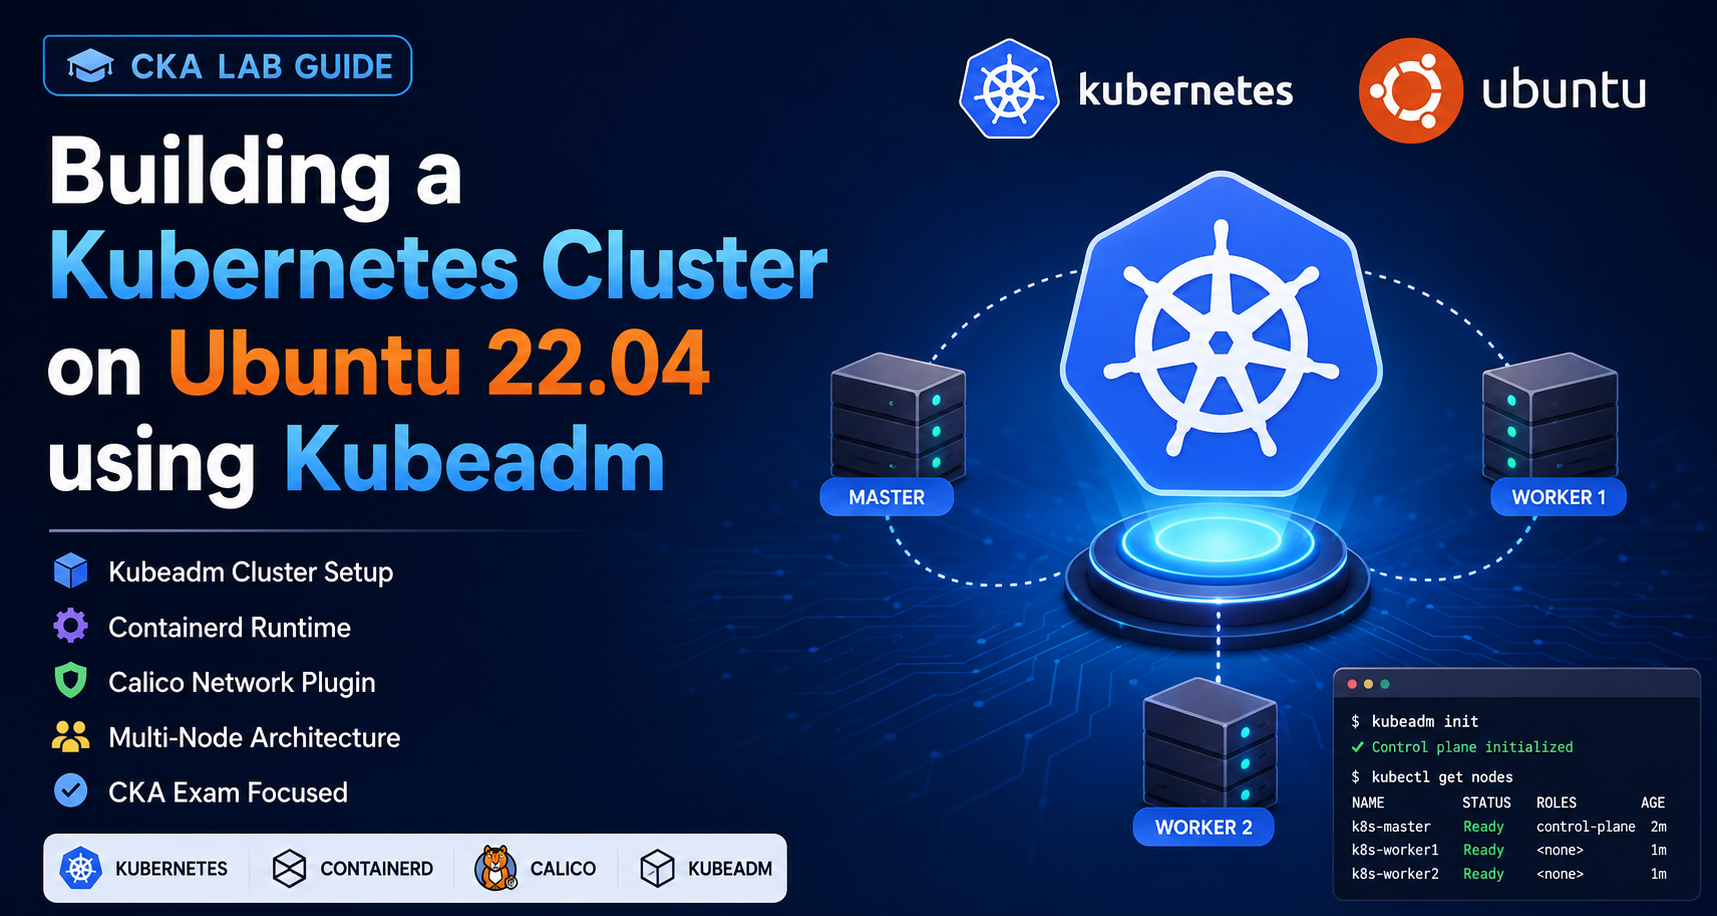
Kubernetes is the most popular container orchestration platform used by companies worldwide. As a CKA (Certified Kubernetes Administrator) candidate, one of the most important skills is building a Kubernetes cluster from scratch.
In this lab, we will:
✅ Create a Kubernetes Cluster using Kubeadm
✅ Install Containerd Runtime
✅ Configure Kernel Modules
✅ Install Kubernetes Components
✅ Deploy Calico Network Plugin
✅ Join Worker Nodes
✅ Verify Cluster Health
☁️ Step 1: Create a Google Cloud Account
Visit:
Create a Google Cloud account and launch Ubuntu 22.04 virtual machines.
Recommended VM Configuration
| Node Type | OS | CPU | RAM |
|---|---|---|---|
| Control Plane | Ubuntu 22.04 | 2 vCPU | 4 GB |
| Worker Node 1 | Ubuntu 22.04 | 2 vCPU | 4 GB |
| Worker Node 2 | Ubuntu 22.04 | 2 vCPU | 4 GB |
📌 Step 2: Configure Kernel Modules (All Nodes)
Kubernetes networking requires specific kernel modules.
Create the configuration file:
cat <<EOF | sudo tee /etc/modules-load.d/containerd.conf
overlay
br_netfilter
EOF
Load modules immediately:
sudo modprobe overlay
sudo modprobe br_netfilter
Verify:
lsmod | grep overlay
lsmod | grep br_netfilter
Example Output
overlay
br_netfilter
📌 Step 3: Configure Networking Parameters (All Nodes)
Create sysctl configuration:
cat <<EOF | sudo tee /etc/sysctl.d/99-kubernetes-cri.conf
net.bridge.bridge-nf-call-iptables=1
net.ipv4.ip_forward=1
net.bridge.bridge-nf-call-ip6tables=1
EOF
Apply settings:
sudo sysctl --system
Verify:
sysctl net.ipv4.ip_forward
Expected:
net.ipv4.ip_forward = 1
📌 Step 4: Install Containerd Runtime (All Nodes)
Update packages:
sudo apt update
Install containerd:
sudo apt install -y containerd
Create configuration directory:
sudo mkdir -p /etc/containerd
Generate default configuration:
containerd config default | sudo tee /etc/containerd/config.toml
Important Fix
Enable SystemdCgroup:
sudo sed -i 's/SystemdCgroup = false/SystemdCgroup = true/' /etc/containerd/config.toml
Restart containerd:
sudo systemctl restart containerd
sudo systemctl enable containerd
Verify:
sudo systemctl status containerd
Expected:
active (running)
📌 Step 5: Disable Swap (All Nodes)
Kubernetes requires swap to be disabled.
Disable swap:
sudo swapoff -a
Disable permanently:
sudo sed -i '/ swap / s/^/#/' /etc/fstab
Verify:
free -h
Swap should show:
0B
📌 Step 6: Install Kubernetes Components (All Nodes)
Install dependencies:
sudo apt update
sudo apt install -y apt-transport-https curl gpg
Create keyring directory:
sudo mkdir -p /etc/apt/keyrings
Download Kubernetes GPG key:
curl -fsSL https://pkgs.k8s.io/core:/stable:/v1.28/deb/Release.key \
| sudo gpg --dearmor -o /etc/apt/keyrings/kubernetes-apt-keyring.gpg
Add repository:
echo "deb [signed-by=/etc/apt/keyrings/kubernetes-apt-keyring.gpg] https://pkgs.k8s.io/core:/stable:/v1.28/deb/ /" \
| sudo tee /etc/apt/sources.list.d/kubernetes.list
Update repository:
sudo apt update
Install Kubernetes packages:
sudo apt install -y kubelet kubeadm kubectl
Hold versions:
sudo apt-mark hold kubelet kubeadm kubectl
Verify:
kubectl version --client
📌 Step 7: Initialize Control Plane Node
Run only on Master Node.
sudo kubeadm init \
--pod-network-cidr=192.168.0.0/16 \
--kubernetes-version=v1.28.0
Expected:
Your Kubernetes control-plane has initialized successfully!
📌 Step 8: Configure Kubectl Access
Run as normal user:
mkdir -p $HOME/.kube
sudo cp -i /etc/kubernetes/admin.conf $HOME/.kube/config
sudo chown $(id -u):$(id -g) $HOME/.kube/config
Verify:
kubectl get nodes
Expected:
NAME         STATUS     ROLES
k8s-master   NotReady   control-plane
This is normal because networking is not installed yet.
📌 Step 9: Install Calico Network Plugin
Install Tigera Operator:
kubectl create -f https://raw.githubusercontent.com/projectcalico/calico/v3.25.0/manifests/tigera-operator.yaml
Install Custom Resources:
kubectl create -f https://raw.githubusercontent.com/projectcalico/calico/v3.25.0/manifests/custom-resources.yaml
Verify:
kubectl get pods -A
Wait until all pods become:
Running
Example:
calico-node              Running
calico-kube-controllers  Running
calico-typha             Running
coredns                  Running
📌 Step 10: Verify Cluster Status
Check Nodes:
kubectl get nodes
Expected:
NAME         STATUS   ROLES
k8s-master   Ready    control-plane
📌 Step 11: Get Worker Join Command
Generate token:
kubeadm token create --print-join-command
Example:
kubeadm join 10.128.0.2:6443 \
--token abcdef.123456789 \
--discovery-token-ca-cert-hash sha256:xxxxxxxxxxxxxxxx
📌 Step 12: Join Worker Nodes
Run on Worker Node:
sudo kubeadm join 10.128.0.2:6443 \
--token abcdef.123456789 \
--discovery-token-ca-cert-hash sha256:xxxxxxxxxxxxxxxx
Expected:
This node has joined the cluster
📌 Step 13: Verify All Nodes
Run on Master:
kubectl get nodes
Expected:
NAME           STATUS   ROLES
k8s-master     Ready    control-plane
k8s-worker-1   Ready    <none>
k8s-worker-2   Ready    <none>
📌 Step 14: Deploy a Test Application
Create NGINX Deployment:
kubectl create deployment nginx --image=nginx
Check Pod:
kubectl get pods
Expected:
nginx-xxxxxxxxxx-xxxxx Running
Expose Service:
kubectl expose deployment nginx --port=80 --type=NodePort
Verify:
kubectl get svc
🎯 Conclusion
Congratulations! 🎉
You have successfully:
✅ Installed Containerd Runtime
✅ Installed Kubernetes Components
✅ Initialized Control Plane
✅ Installed Calico Networking
✅ Joined Worker Nodes
✅ Verified Cluster Health
✅ Deployed a Sample Application
This is the exact Kubernetes cluster-building process frequently tested in the Certified Kubernetes Administrator (CKA) exam and widely used in production environments.
This guide uses the corrected Containerd configuration (SystemdCgroup=true) and the proper kubeconfig setup so it avoids the common errors that cause clusters to remain in a NotReady state.